Setting up the Wearmaster

Vibratory Feeder Bucket

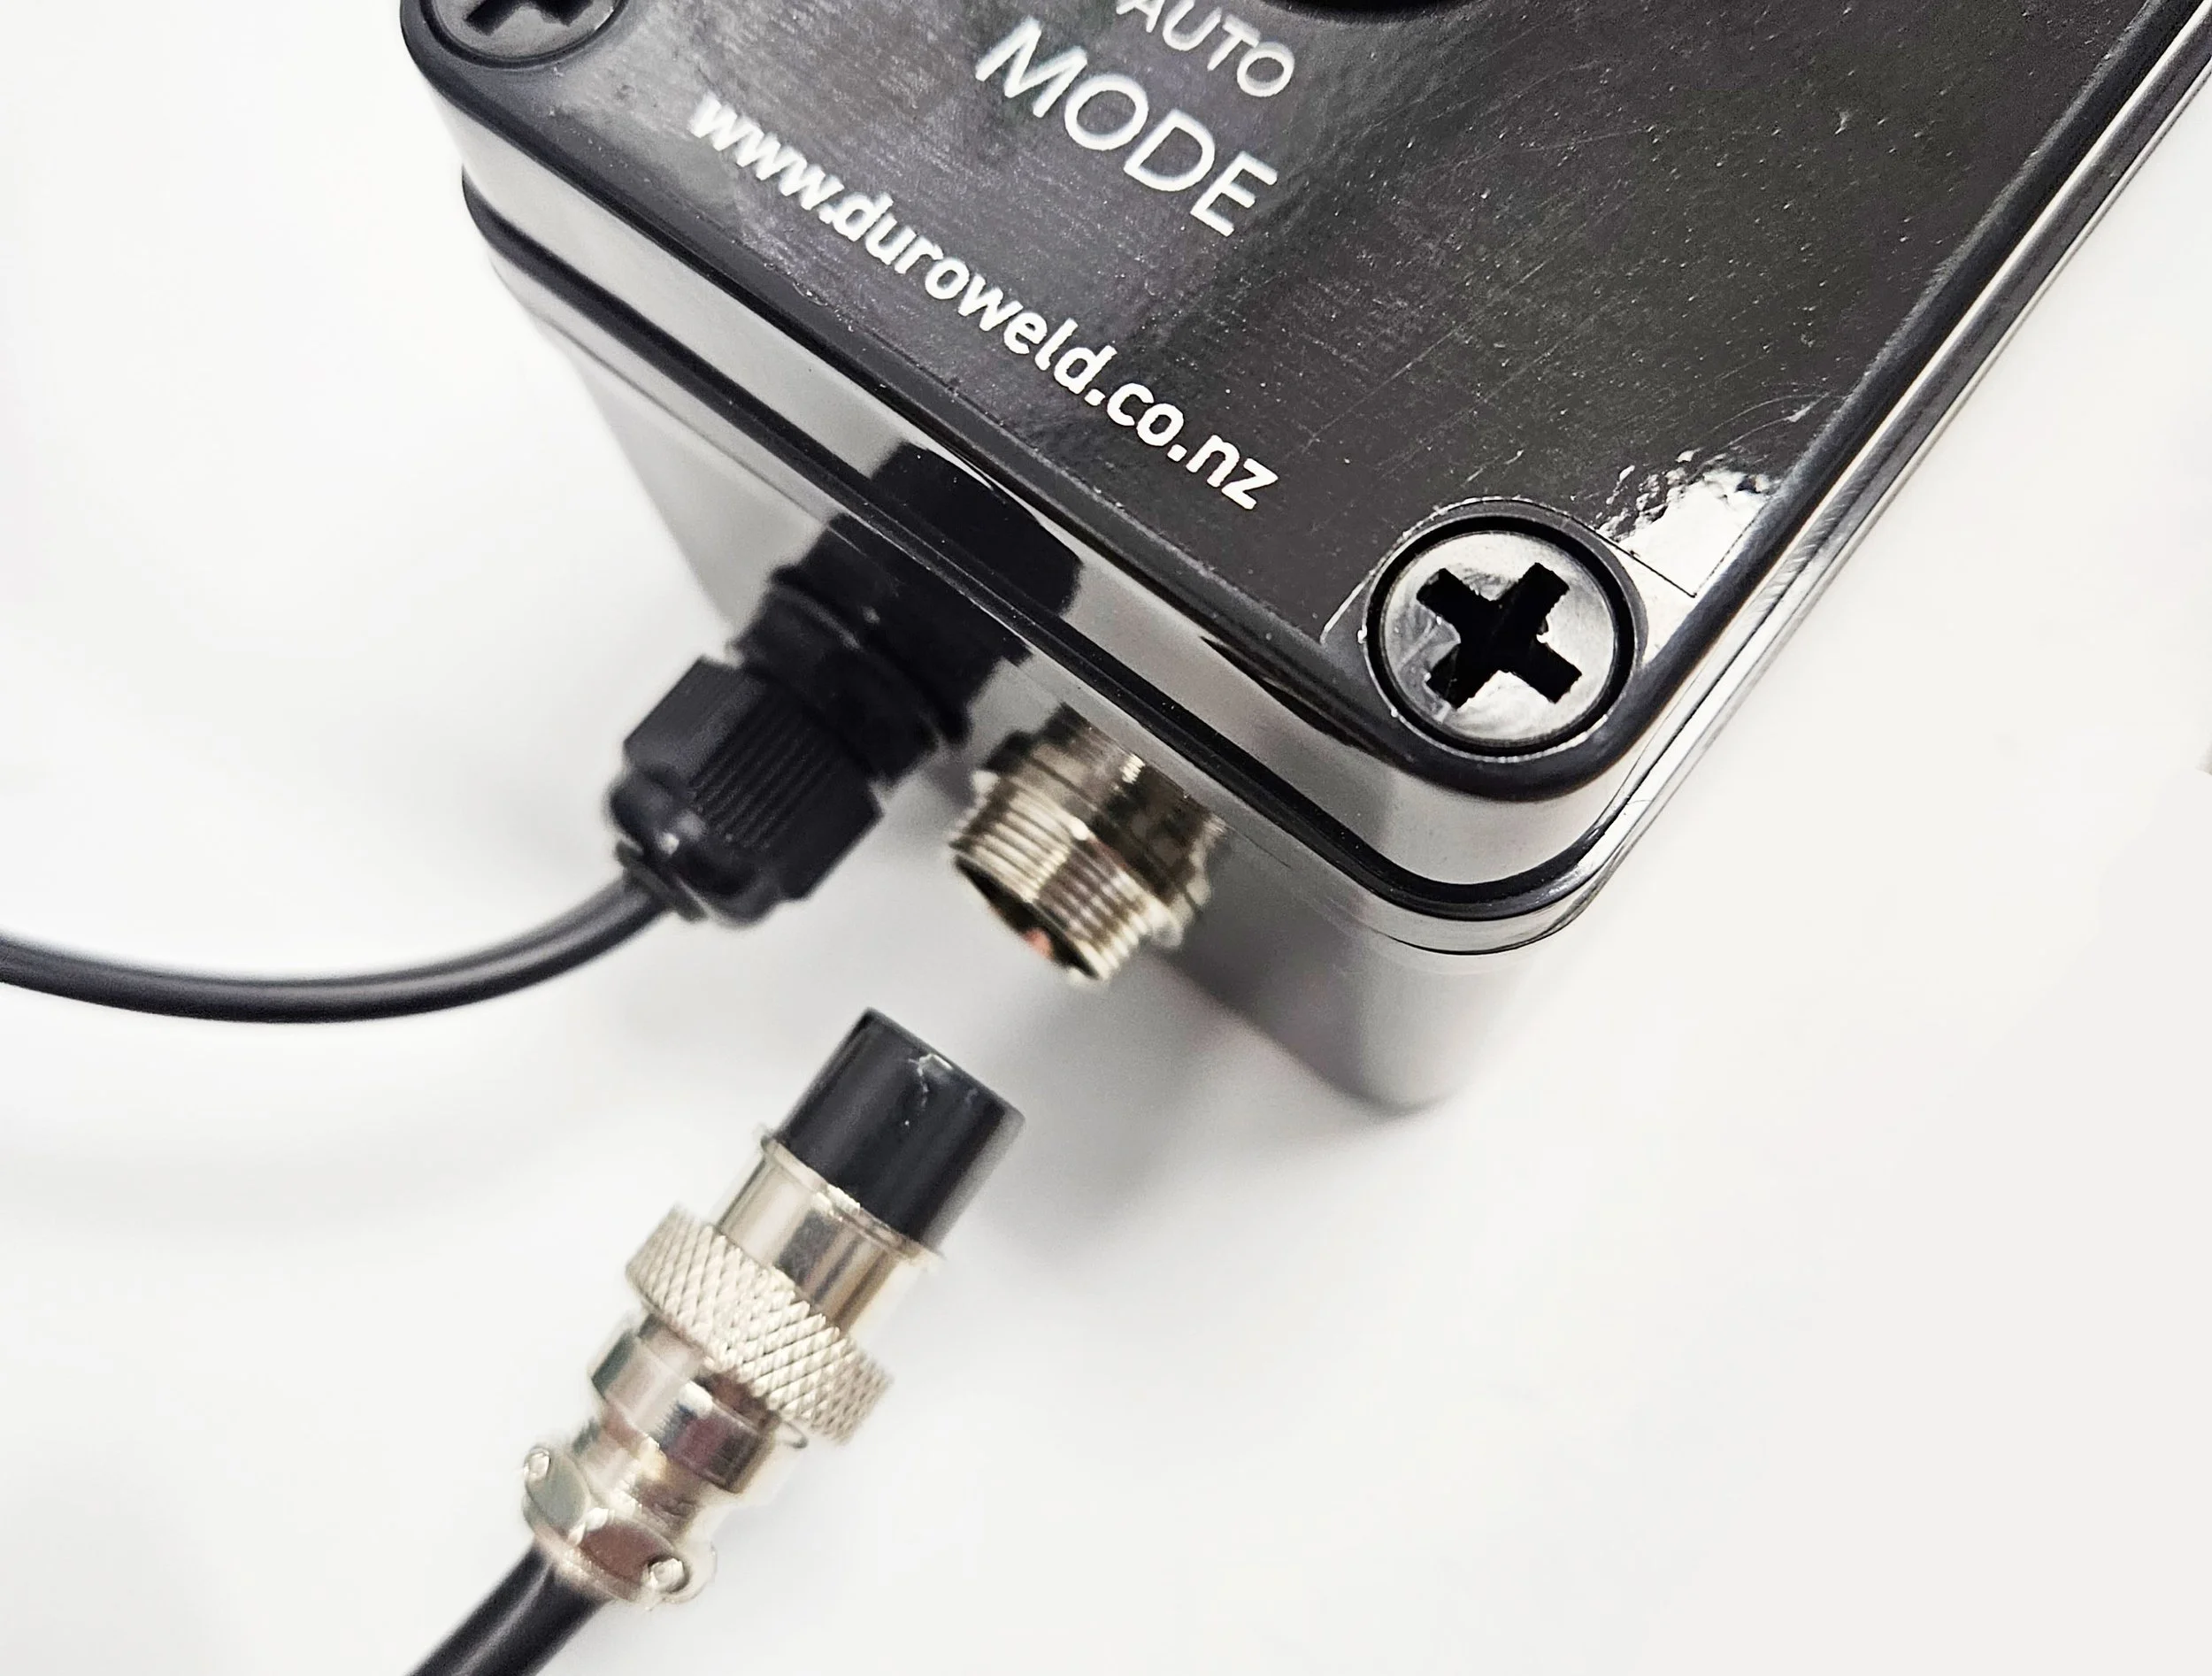
Main Control Box
IMPORTANT PLEASE NOTE

DO NOT UNSCREW THE ATTACHED BOLTS
The base of the Wearmaster needs to be attached to the metal base plate using the supplied bolts and washers.
Step 4
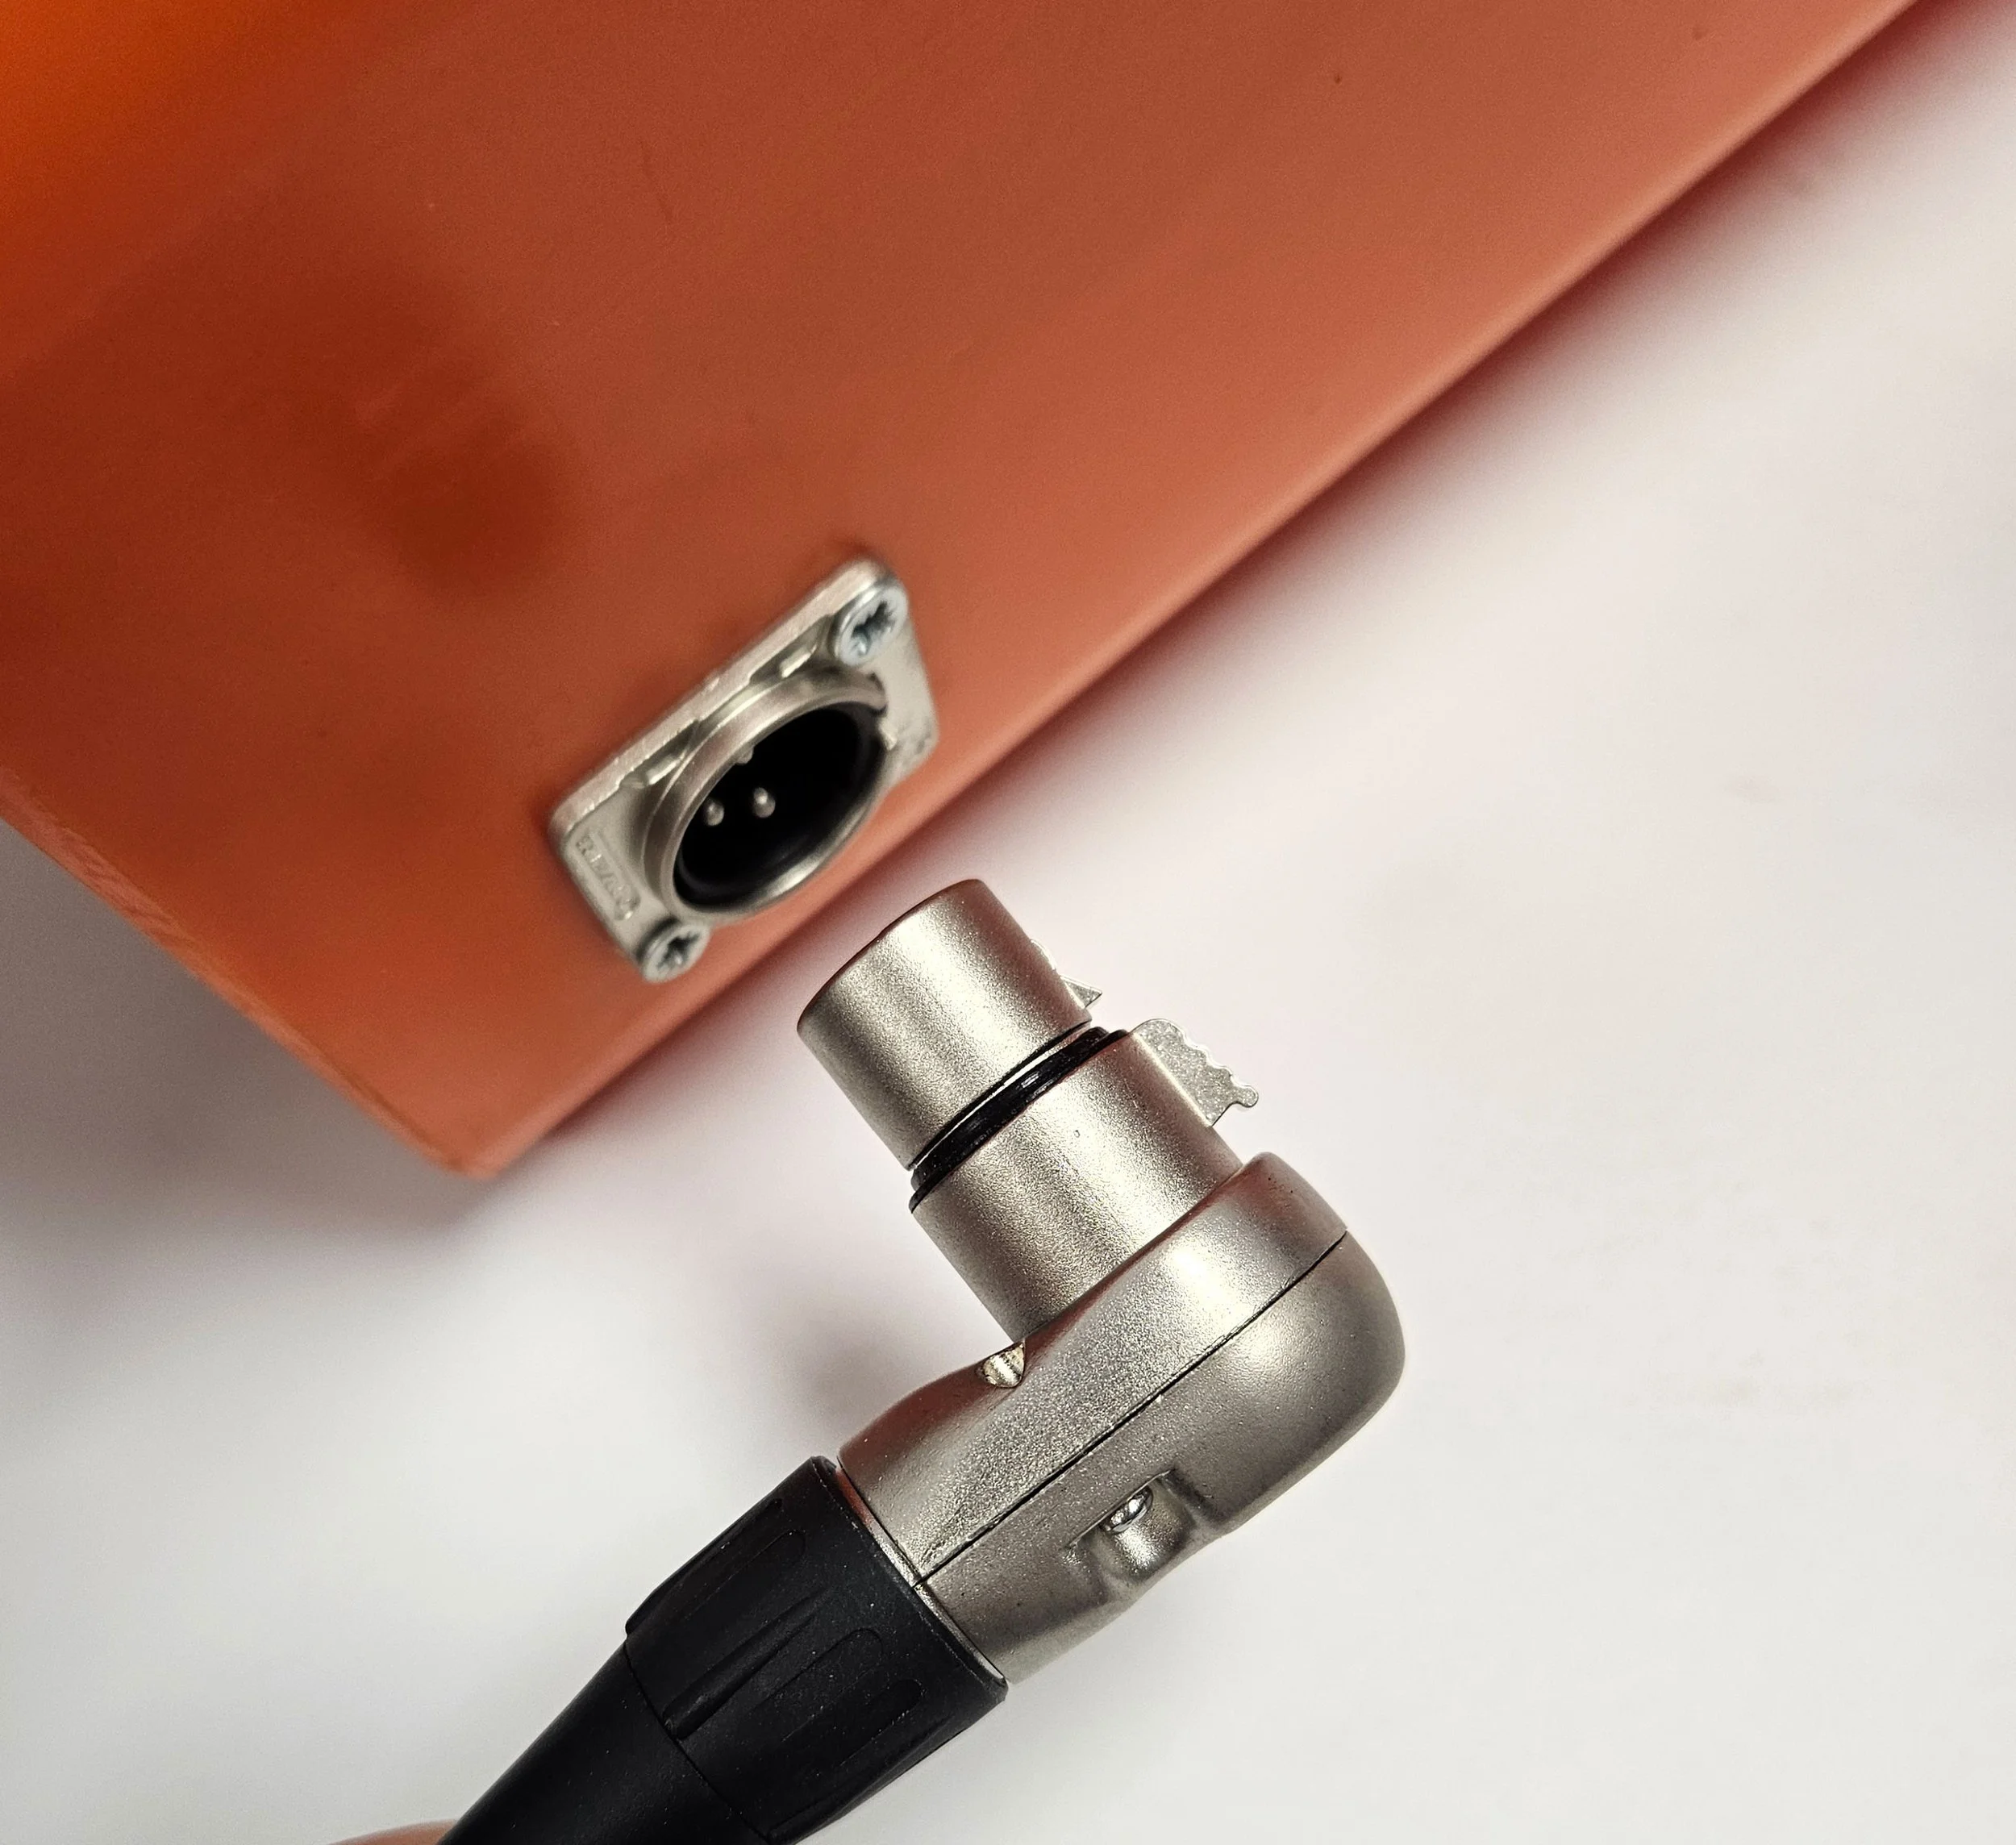
Plug in the main control box

Step 7
Once the Wearmaster has been mounted at the preferred height above the table ensure the hose length has been adjusted so there is a straight drop with minimal bend.
Foot Pedal

STEP 1
Place the base plate on the bottom of the Wearmaster and align the screws with the corresponding holes.
Step 5
Attach the foot pedal to the power control box

16mm Silicon Hose

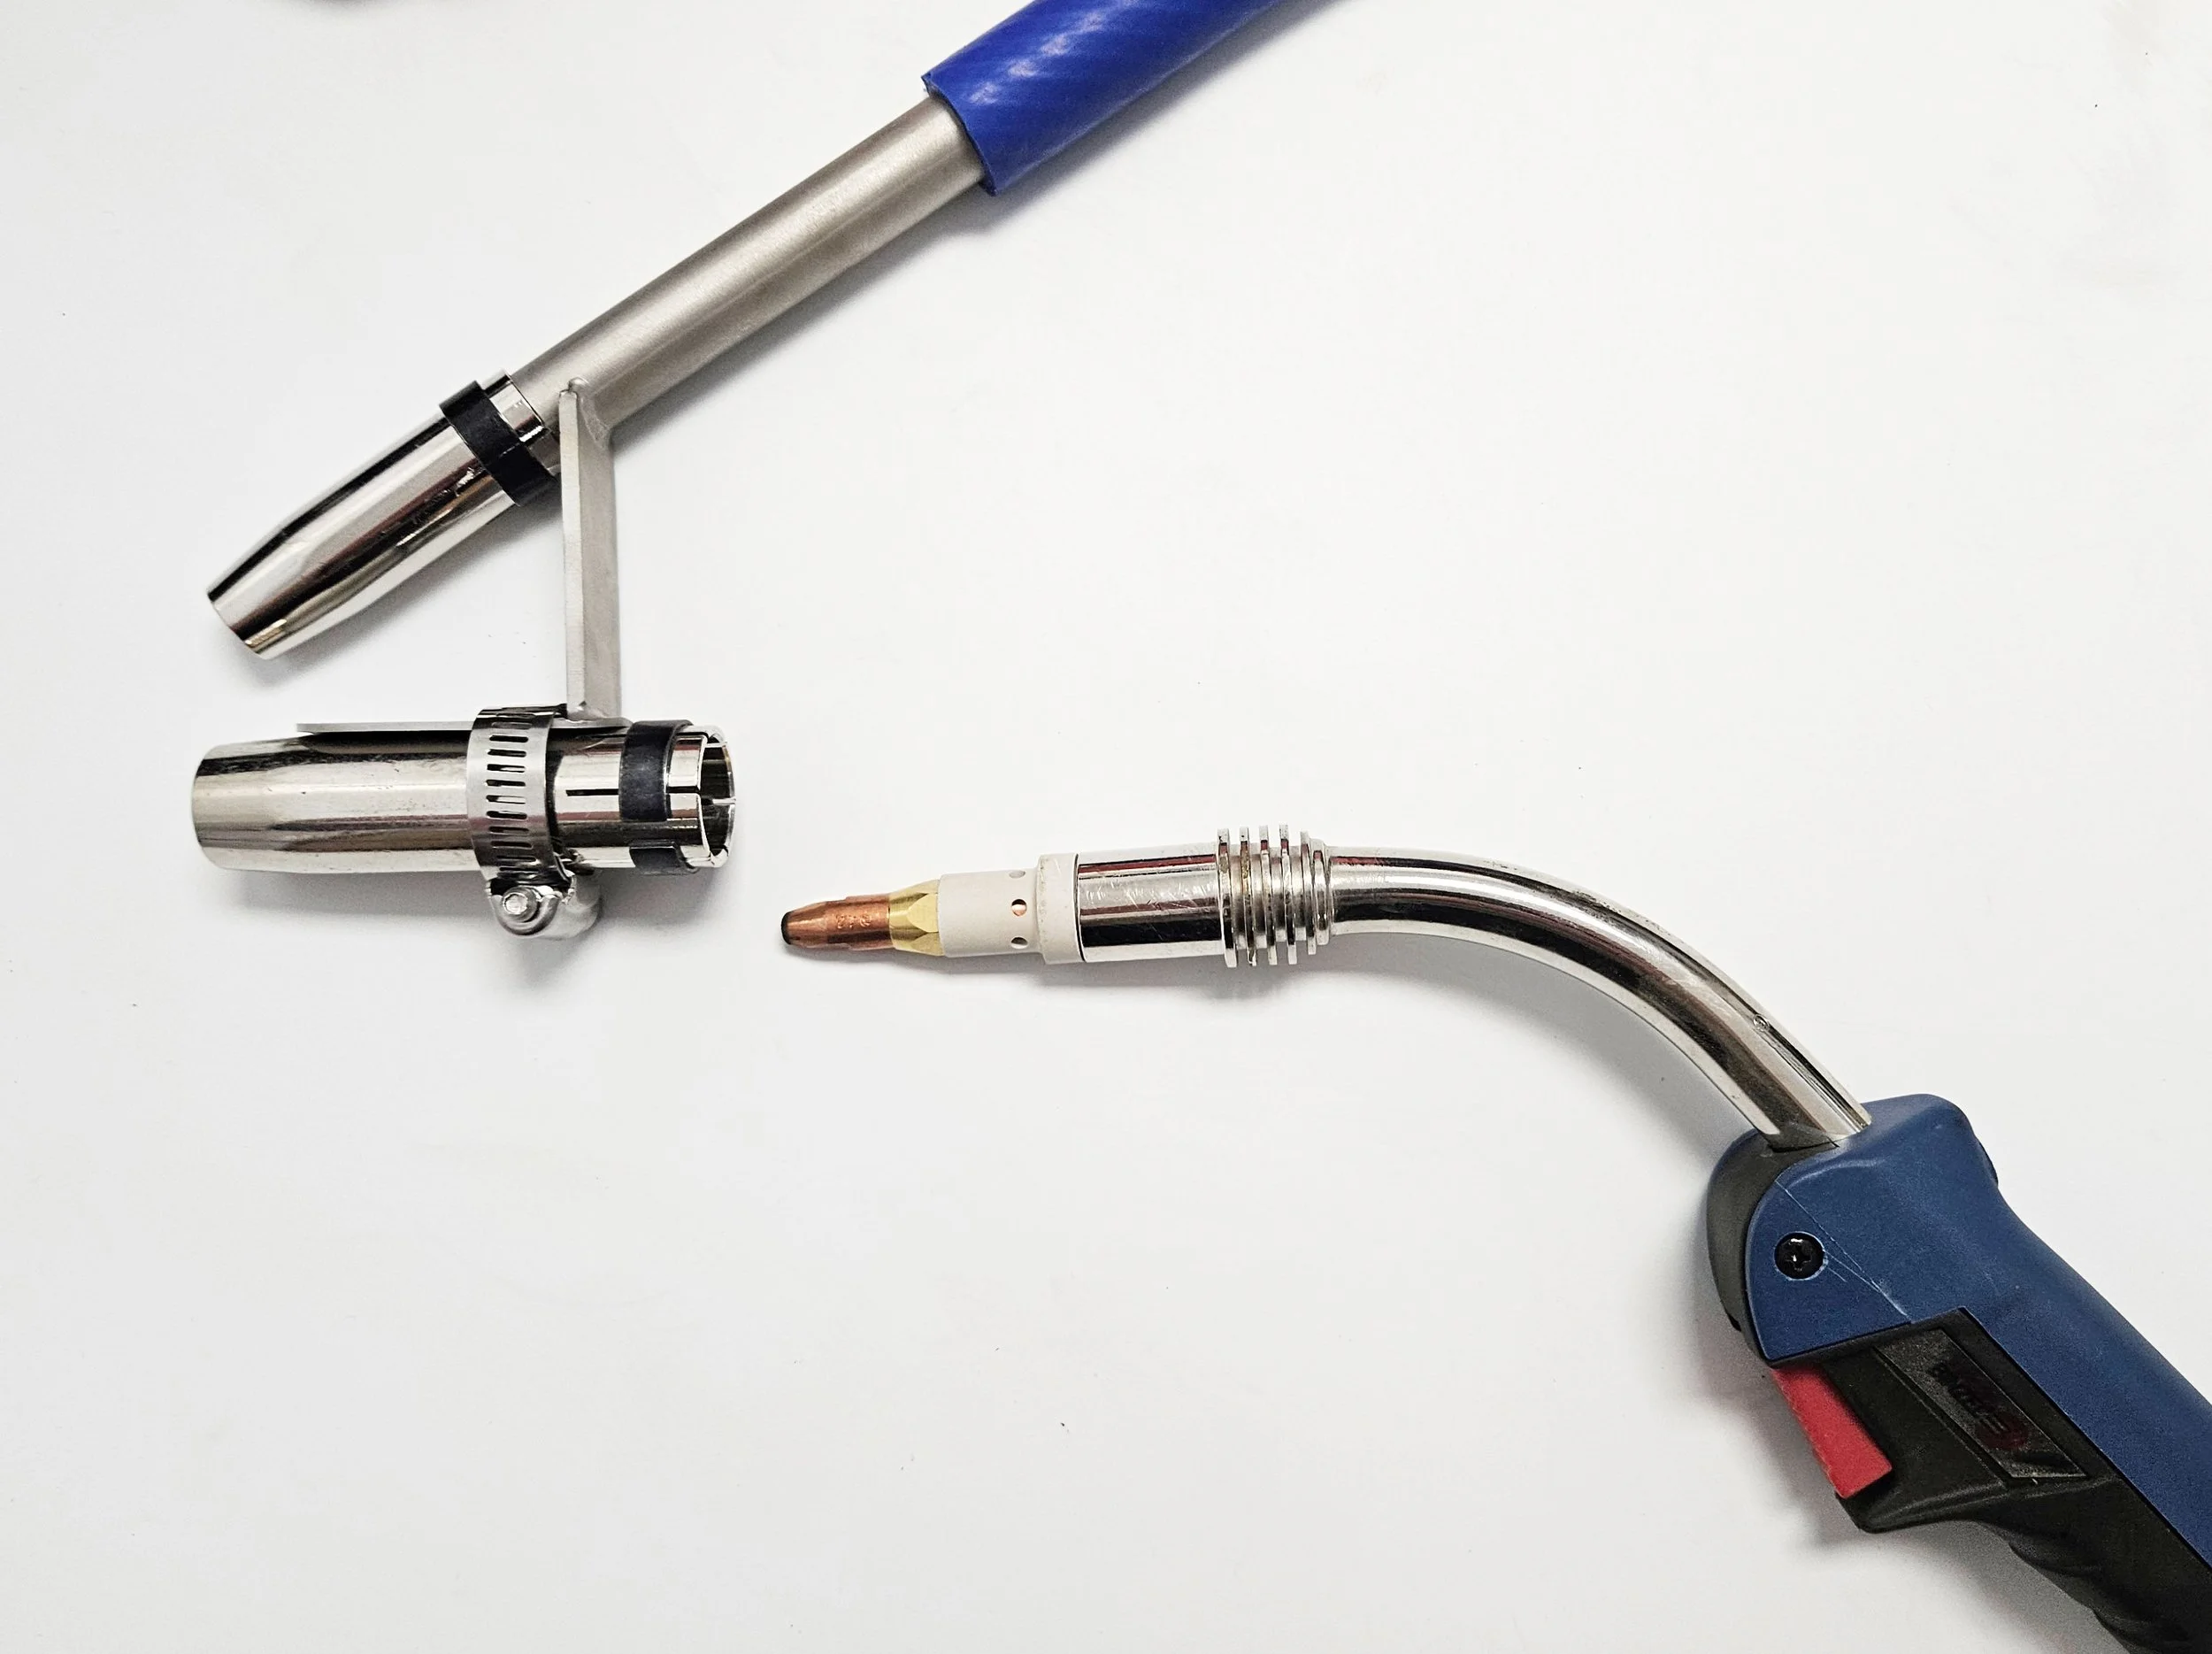
Torch Bracket

STEP 2
Secure into place with the supplied bolts and washers.

Step 6
Using the supplied nozzle and bracket attach.

Dispensing Nozzle

STEP 3
Attach the 16mm Silicon Dropper Hose.